Struggling with connectivity on the go or at home? The GL.iNet router is an excellent travel companion and home networking tool that offers secure, private internet access anywhere. Whether you’re working remotely, streaming, or just browsing, a proper GLiNet Router Setup is crucial to maximize performance and protect your online activity.
In this guide, we’ll walk you through the complete GL.iNet Setup, including tips on choosing the right model, initial configuration, and customizing your travel router for enhanced features.
Why Choose a GL.iNet Travel Router?
Before diving into the GLiNet Router Setup process, let’s briefly look at why the GL.iNet router is a smart choice:
- Compact and portable
- Supports OpenVPN and WireGuard out of the box
- Converts public Wi-Fi into a private, secure network
- Dual-band and LTE options available
- Ideal for frequent travelers, remote workers, or small home networks
Now that you understand the benefits, let’s move on to how to setup GLiNet travel router in a few simple steps.
Quick Steps for GLiNet Router Setup
Whether you’re on the go or enhancing your home network, setting up your GL.iNet router is quick and easy. This section covers everything you need to know, from connecting the device to configuring it for optimal performance. Follow the steps below to start enjoying reliable internet access and all the powerful features your GL.iNet router has to offer.
How to Setup GLiNet Travel Router On the Web?
- First, power on your router using the included USB cable or adapter.
- Wait for the LED indicator to turn on.
- Next, connect your smartphone or laptop to the router via the default SSID or through a LAN cable for a more stable connection.
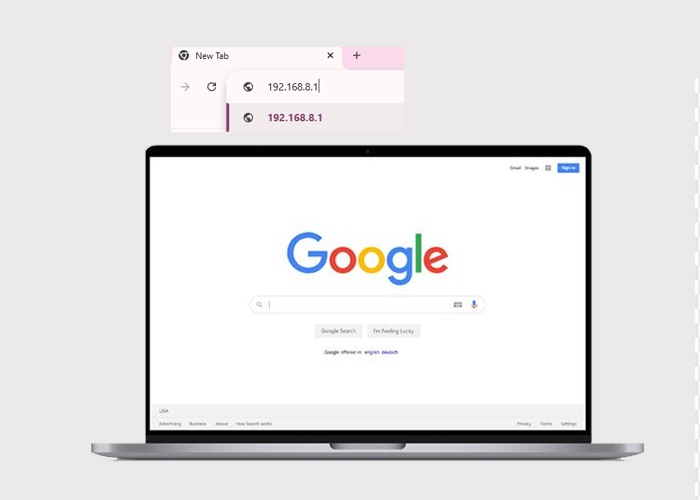
- Then, open any web browser and enter http://192.168.8.1 to access the admin interface.
- On your first login, you’ll be asked to create a new password.
- So, choose something strong and memorable.
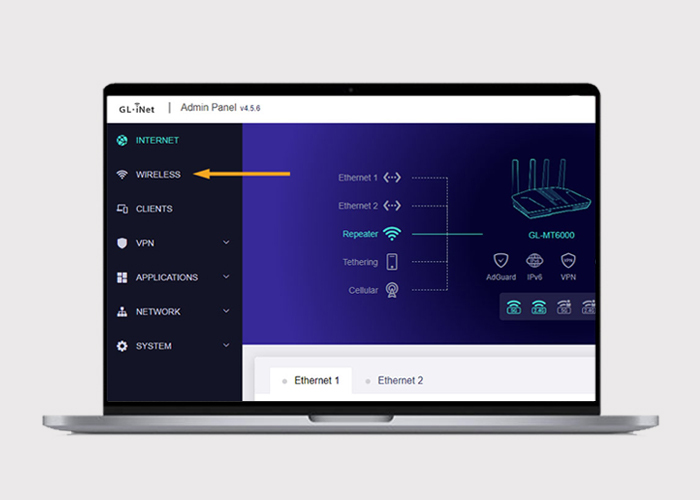
- Here, you will reach the web admin portal of your router.
- Afterward, choose a suitable mode for your router to connect to the internet.
- Now, update the firmware to get the latest features and security improvements.
- Simply go to System > Upgrade, check for updates, and follow the prompts.
- Finally, once your GLiNet Router Setup is complete.
Additional Tips
Moreover, you can explore additional features given below to enhance your experience:
- Install VPN Services: Use OpenVPN for private browsing.
- Set up a Guest Network: Secure your primary network by creating a separate one for guests.
- Enable Parental Controls: Manage and restrict content for kids.
- Activate AdGuard Home: Block ads and trackers directly from your router.
Final Thoughts
In conclusion, learning the GLiNet Router Setup isn’t as complicated as it seems. With just a few steps, you can enjoy safe and reliable internet access wherever you go. If you want to ensure better security at home, the GL.iNet Setup makes it all possible. Follow the setup steps above, explore advanced features, and stay connected securely and seamlessly.