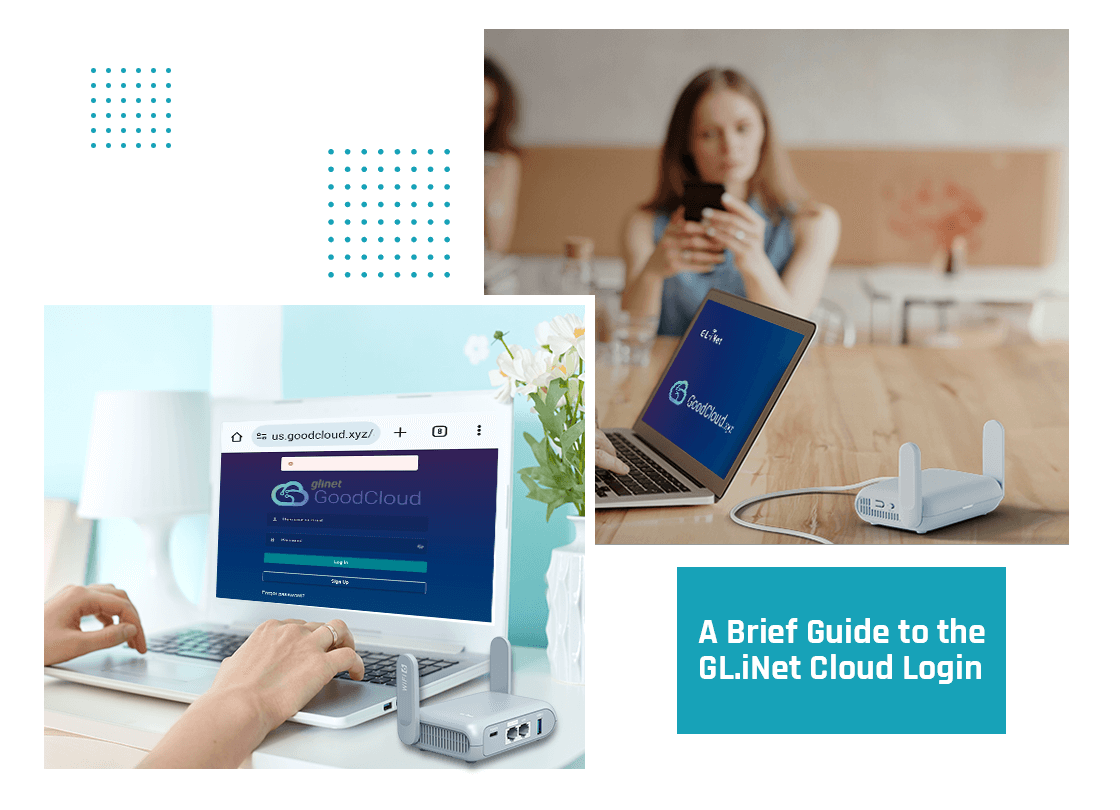
GL.iNet is one of the leading brands in the market specially designed for remote device management. However, to cope with the user’s security and network connectivity needs, GL.iNet routers are widely used. These wifi routers are ideal for traveling, home usage, and cellular routers. However, to remotely access these devices, GL.iNet cloud login is a must.
But, most of the users don’t know how to access the GL.iNet router. Therefore, this guide focuses on providing you with the step-by-step procedure for the GL.iNet cloud account login. Additionally, this post helps you to understand the key requirements to log into your device. So, have a closer look at this detailed guide!
Things You Need For the GL.iNet Cloud Login
Before you login to GL.iNet cloud, you must require certain things. So, here are some of the essential things you would require in this process:
GL.iNet Router
internet connection
Access to GL.iNet GoodCloud
web/IP address
Valid login credentials
Computer/ smartphone
Ethernet cables
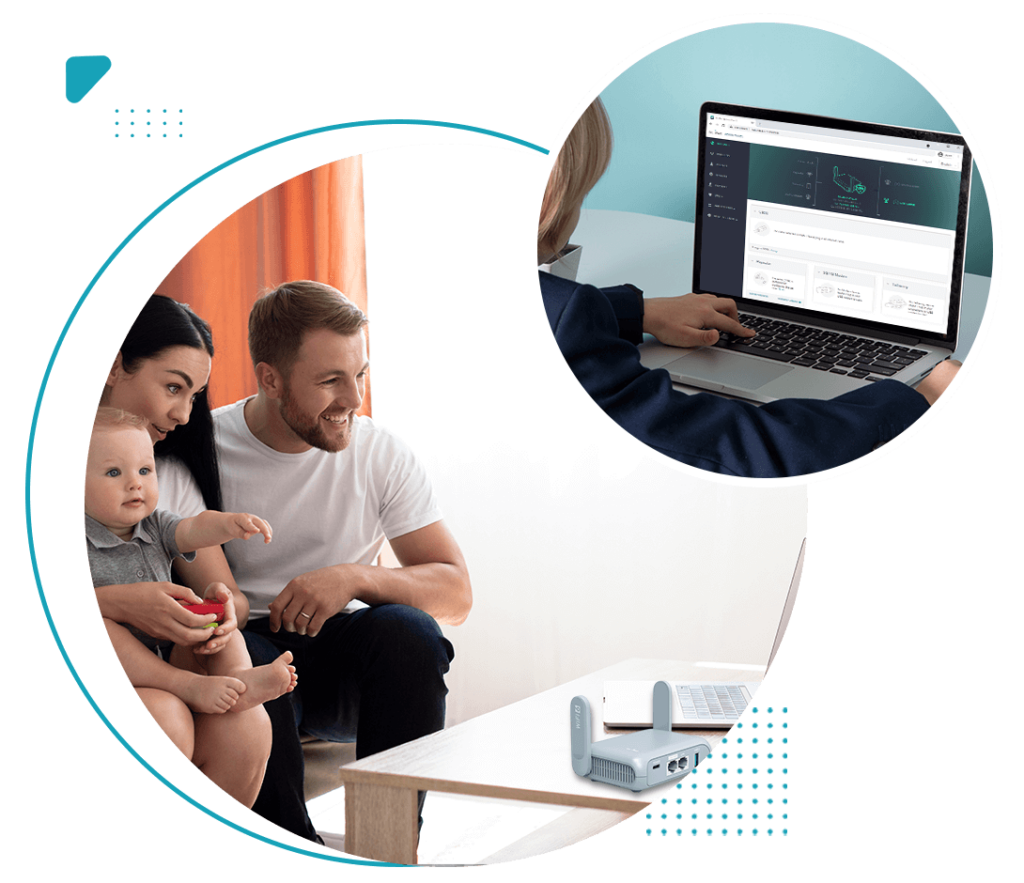
How to Login to GL.iNet Cloud In Simple Steps?
Certainly, the GL.iNet Cloud management services allow users to remotely access and manage their wifi routers. However, before accessing and configuring these networking gateways, you must perform the GL.iNet cloud login. So, this section outlines the stepwise procedure for this login process:
Firstly, connect your router to the power supply and turn it on.
Then, connect your computer to the router’s network.
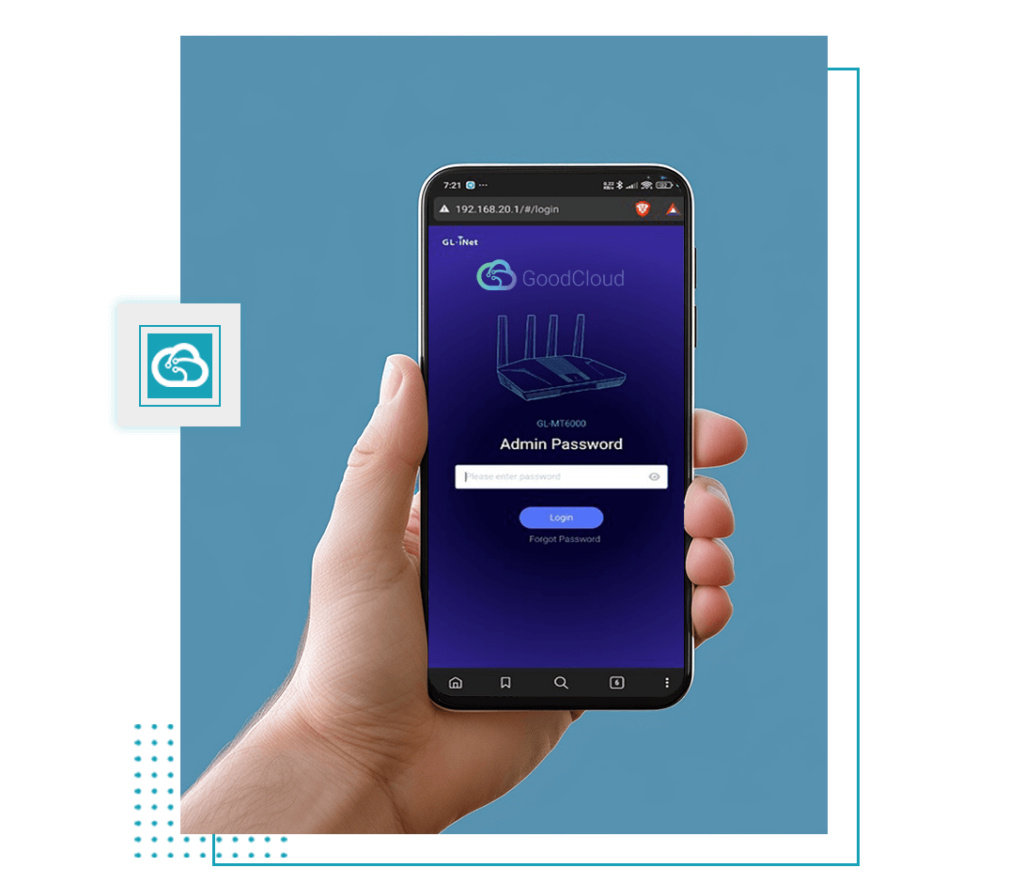
Now, launch a web browser and type the 192.168.8.1 IP address in the URL bar.
Hereon, access your GL.iNet router admin panel using valid login details.
After that, you reach the smart home dashboard of your networking device.
Now, from the left-side menu, go to the Applications.
Further, navigate to the Remote Access and then access the Cloud Management Page.
After that, enable the GoodCloud, Remote SSH, and Remote Web options.
Now, select the Data Server from Asia Pacific, Europe, and America that fits your preferences.
Then, read and agree to the ‘Terms of Service & Privacy Policy’.
Hereon, tap on ‘Apply’ to implement these changes.
Further, go to the goodcloud.xyz to sign up for a new account.
Verify your email and then sign into your goodcloud account.
After that, select the Data Server Region same as you have selected previously.
Now, access the dashboard of the GoodCloud.
Hereon, go to Group List and tap on Add Group to add a new group on the cloud.
Enter the required details in the given fields and tap on ‘Confirm’.
Similarly, visit Device List and tap on Add Device to link your device to goodcloud.
Then, follow the on-screen instructions to add the devices manually, auto-discover, and bulk import.
Additionally, tap on the ‘Unbind’ button to remove the device from GoodCloud.
To access, manage, and configure your device, follow the on-screen instructions.
At last, the GL.iNet Cloud Account Login process is completed.
Final Thoughts
Certainly, the GL.iNet Cloud management services allow users to remotely access and manage their wifi routers. However, before accessing and configuring these networking gateways, you must perform the GL.iNet Cloud Login. So, this section outlines the stepwise procedure for this login process: