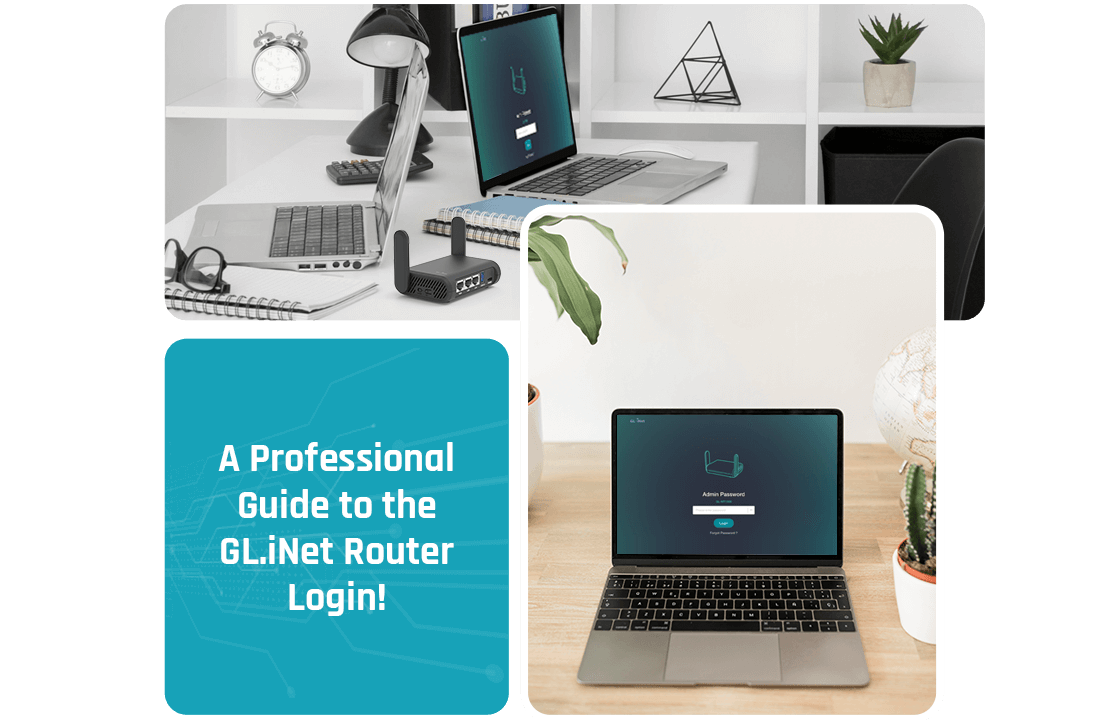
GL.iNet Router Login!
In today’s modern era, GL.iNet has established itself as the key provider in this networking world with its flexible, portable, and user-friendly wifi routers. With such amazing features, these devices are becoming popular among travelers, tech enthusiasts, and professionals who need remote connectivity. If you newly own this device, then the GL.iNet router login is a must.
So, to assist you with the complete procedure to access and use this networking device, we brought this guide for you. Herein, you will gain insights into the GL.iNet admin login process. Alongside, this guide makes you familiar with the effective ways to complete this process. So, let’s walk through this guide!
Key Requirements For the GL.iNet Router Login
Generally, when you are about to initiate the GL.iNet login process, you must be ready with some essential things, which are mentioned below:

A GL.iNet
router

internet
connection

web/IP
address
Valid login
credentials

Glinet
app

Computer/
smartphone

Ethernet
cables
How to Complete the GL.iNet Admin Login Effortlessly?
Most importantly, when you identify the key requirements to carry out the GL.iNet router login process, you should select the appropriate methods to initiate this login process. However, mainly there are two ways to log into the GL.iNet routers, i.e., via the web browser and using the app. So, this section elaborates on the detailed steps to log into your networking device:
Web GUI Method For the GL.iNet Login
- Initially, power on your networking device.
- Then, connect the computer or laptop to the router’s network.
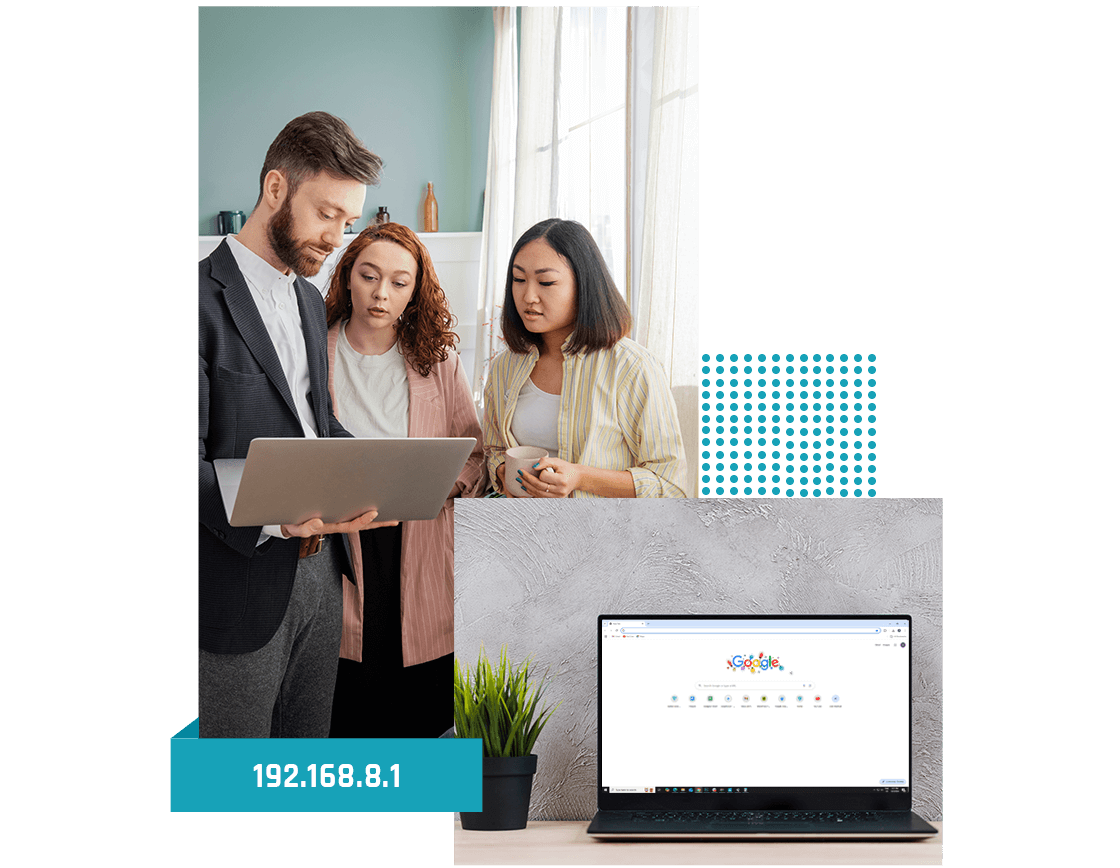
- Further, open a web browser and type the 192.168.8.1 IP address in the browser bar.
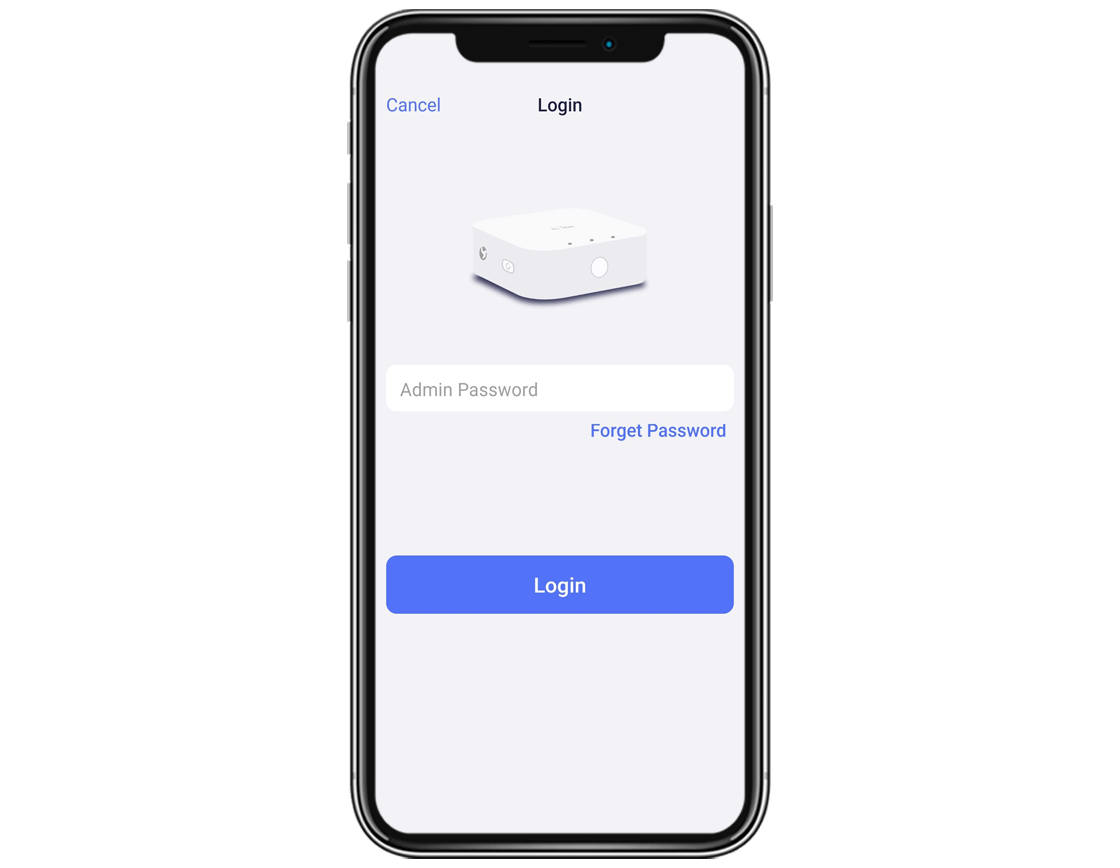
- Now, a login window appears on the screen.
- Hereon set a new admin password, confirm it, and tap ‘Submit’.
- After that, you reach the admin panel of the GL.iNet router.
- Now, navigate to the Wireless from the left-side menu bar.
- Hereon, the 2.4 GHz wifi settings page opens.
- Click on ‘Modify’ and edit your SSID and WiFi key fields.
- Customize these settings and enter a unique password in the WPA2-PSK wifi security mode.
- Finally, tap on ‘Apply’ to save these settings.
- At last, the GL.iNet router login process finishes.
Glinet App Login
- Firstly, connect your smartphone to the router’s network.
- Then, download the latest Glinet app on your smartphone.
- Now, launch the app and a login window prompts you.
- Hereon, tap on ‘Set up Router’ option and proceed further.
- Then, select your router from the given categories or scan the QR code for login.
- Otherwise, follow the further instructions to select the router’s model and tap ‘Next’.
- Then, connect your router to the power adapter and wall socket.
- Now, connect your router to the same network as your smartphone.
- Further, a return to the app and complete the login process
- At last, the GL.iNet login process finishes.
Facing Issues With the GL.iNet Account Login? Find the Fixes Here!
Occasionally, users get stuck during the GL.iNet router login due to some unforeseen issues. This issue may occur due to internet connectivity issues, power outages, incorrect login details, technical glitches, etc. Thus, to eradicate these issues, you must know the effective fixes. So, this section outlines the quick fixes for the common login issues:
- First and foremost, you must have a stable internet connection to seamlessly perform the router login. Therefore, use the ethernet cables to stabilize your internet connection.
- Additionally, confirm the ethernet cables and power supply and make sure everything is working well.
- Then, replace the broken, burnt, and damaged power adapters, cables, and other devices.
- Moreover, double-check the IP address and login credentials when you initiate the login process.
- You can confirm these credentials from the user manual or the device sticker.
- In addition, remove all the network barriers such as mirrors, microwaves, heavy furniture, cemented walls, etc. coming between the signal range.
- If possible, reposition your GL.iNet router to another location away from any obstructions or barriers.
- Always place your networking device in a shady, airy, and ventilated area.
- Most importantly, use the latest versions of the web browser and the Glinet app for router login.
- If you are facing issues in GL.iNet wifi login via the web browser, then clear the unwanted browser data or shift to another web browser.
- Enable all the permissions on the app and web browser for router login and always check the compatibility of the app with your device.
- Disable all unnecessary security extensions such as VPN, Proxy settings, firewall, etc. during GL.iNet admin login.
- If you are facing issues from the ISP side, then contact them immediately and follow their guidelines.
- Finally, reboot your networking device to eradicate the technical glitches and bugs.
If you are curious to know more, drop us a line!
FAQs
How to Power Cycle the GL.iNet Wifi Router?
To power cycle, the GL.iNet Router, first, unplug the devices from the power supply, wait for 30 seconds, and plug the devices back into the power sockets, as removed initially.
What is the Default Gateway Address of the GL.iNet Router?
The default gateway address for the GL.iNet router is 192.168.8.1.
Can You Log into the GL.iNet Cloud Account Via the Web Interface?
Yes, you can log into the GL.iNet cloud account via the web interface through GoodCloud.
What to Do If My GL.iNet Login Screen is Stuck on Loading?
If your GL.iNet wifi login screen is stuck on loading, then check your internet connection and ethernet cable connections first. After that, check the default IP address of the router networking device, eliminate the browser issues, or power cycle your device.
Can I Recover the Forgotten Login Credentials for My GL.iNet Router Login?
If you forget the default login credentials for the GL.iNet wifi router login, then you can recover it by factory resetting your networking device. Factory resetting your networking device brings your device to its original settings and erases all the customized settings.